Maximize the power of QuickBooks Online with QBConnect’s seamless integration solutions. Streamline your accounting processes and unlock efficiency like never before.
Welcome to QBConnect! To download the plugin, please click on the button below. To use the plugin once downloaded, please sign-up for the 15-day FREE trial. It is absolutely free and no card is needed at this point. Once you login, you will be able to use the plugin. Below are the steps that show how you can download the plugin. Below are the steps that show how you can install the plugin once downloaded.
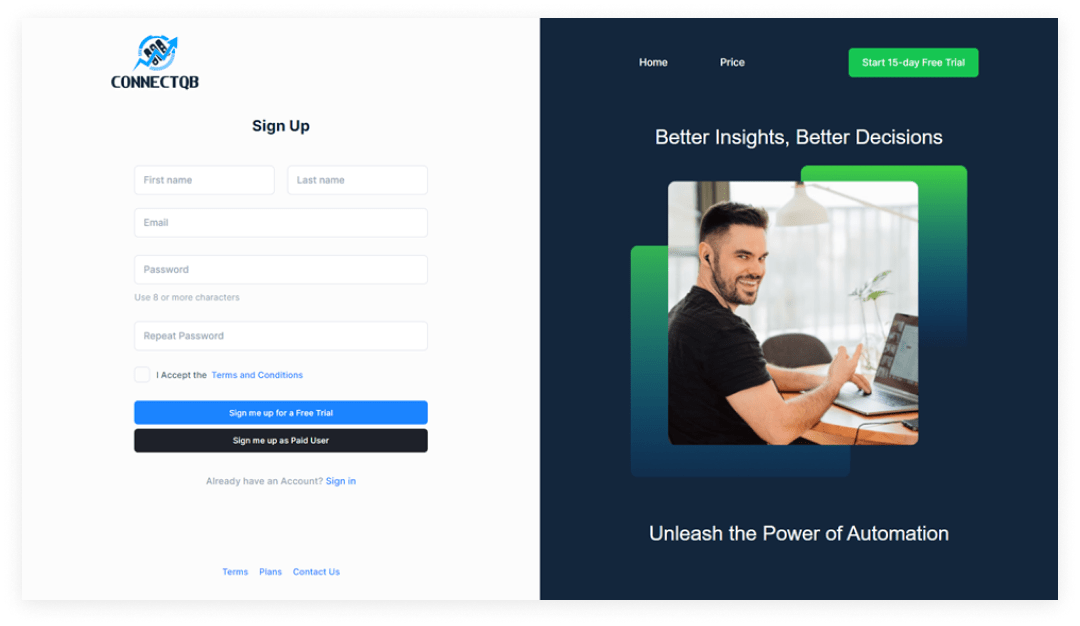
To begin, create an account by visiting the following link:
Signup
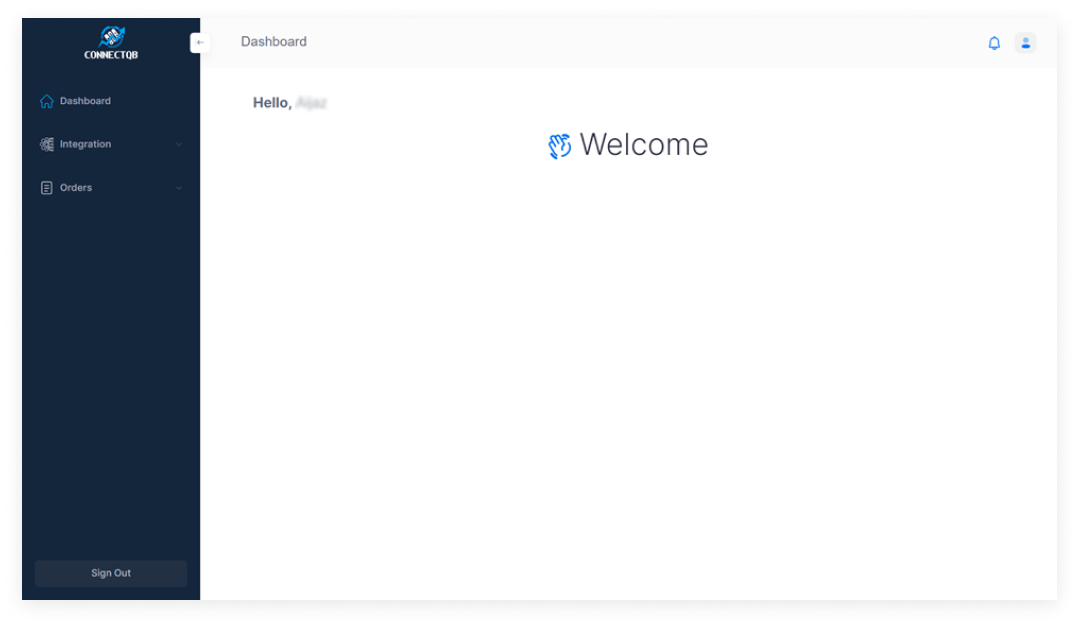
2. Dashboard
After successful signup, you will be directed to the dashboard screen.
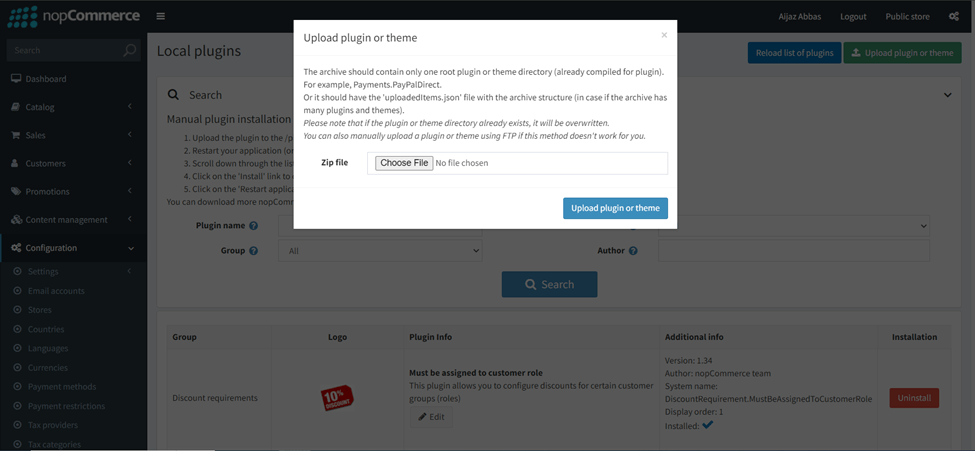
3. Upload Plugin
Go to your nopCommerce dashboard, go to Configurations in the left menu and select Local Plugins.
Upload the plugin using the Upload plugin or theme button indicating the path to the location of the archive with the plugin in your local storage.
Scroll down through the list of plugins to find the newly installed plugin With Name QBConnect. And click on the “Install” button to install the plugin.
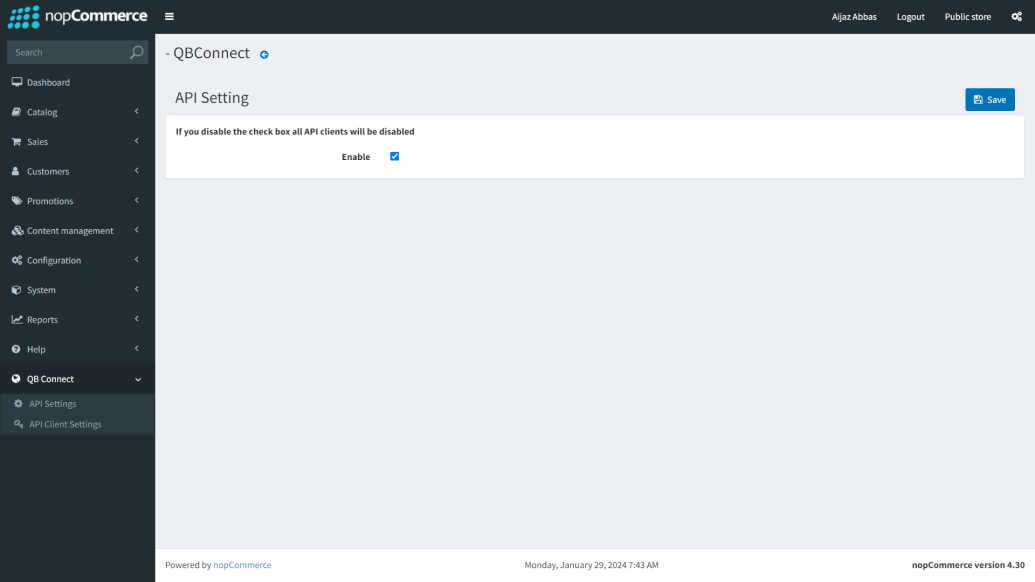
Upon successful installation of the plugin, an “API Admin” option will appear in the left menu. Access “API Settings” and enable the API.
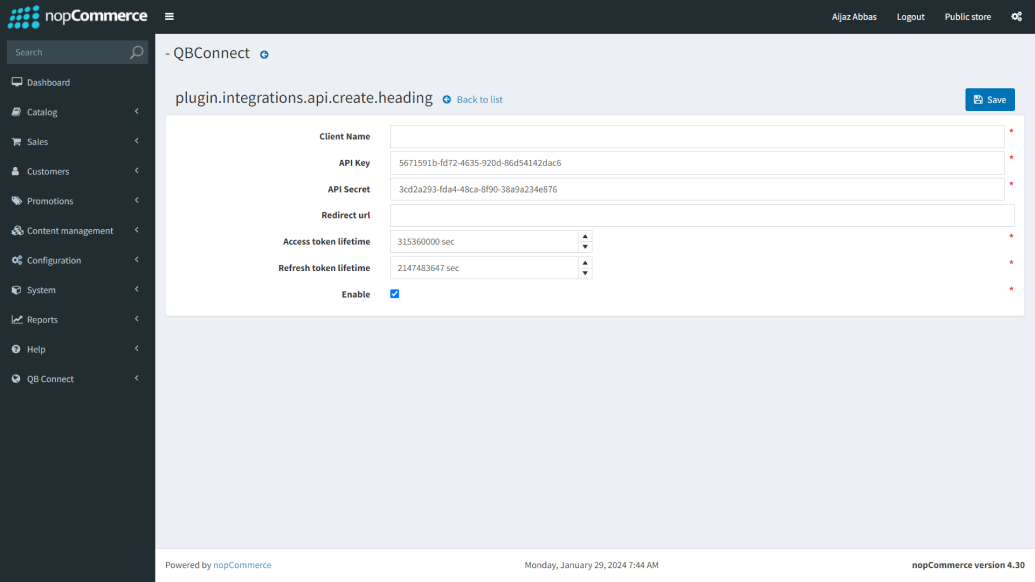
4. Create API Client
Generate an API Client from the “API Client Settings” section. Click on the “Add New” button, complete the mandatory fields, and save the settings.
5. Obtain Client ID and Client Secrete
Copy the provided Client ID and Client Secret. Proceed to the QB Connect portal to add a connection for NopCommerce.
6. Fill Connection Details
Complete all fields in the QB Connect portal. Ensure the connection is active: · Provide a suitable name for the connection. · Paste the Client ID in the “API Key” field. · Paste the Client Secret in the “API Secret” field. · Add the base URL of your NopCommerce site (e.g., “https://nops.ambsan.com/”)
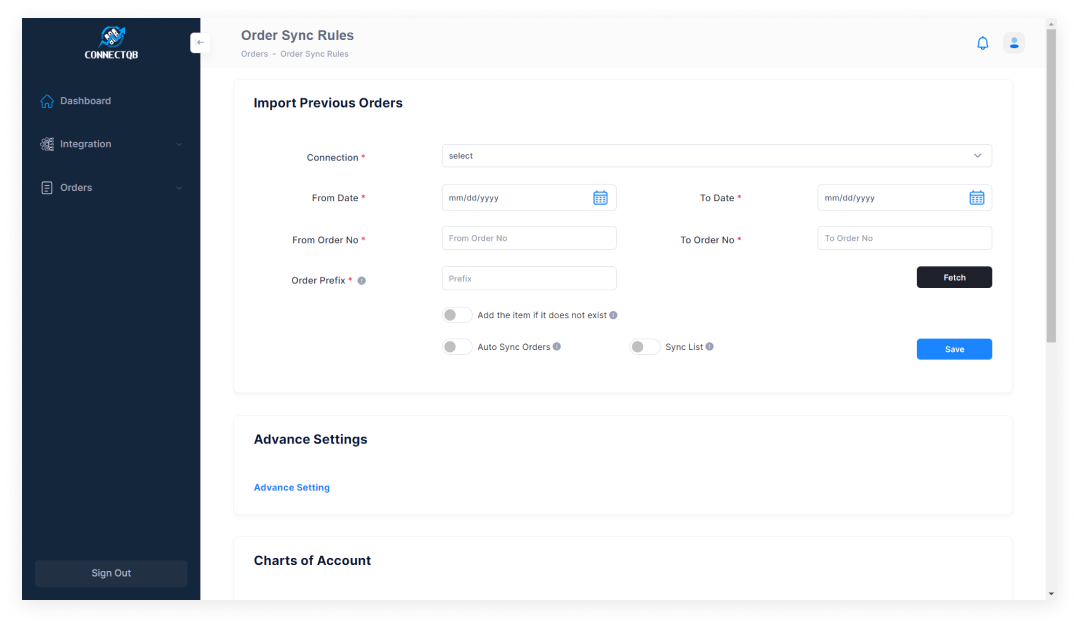
7. Set Order Sync Criteria
Configure the order sync criteria by navigating to “Orders” > “Order Sync Rules.” This will determine the range for order synchronization. Follow these steps: · Select the connection · Save the Rules
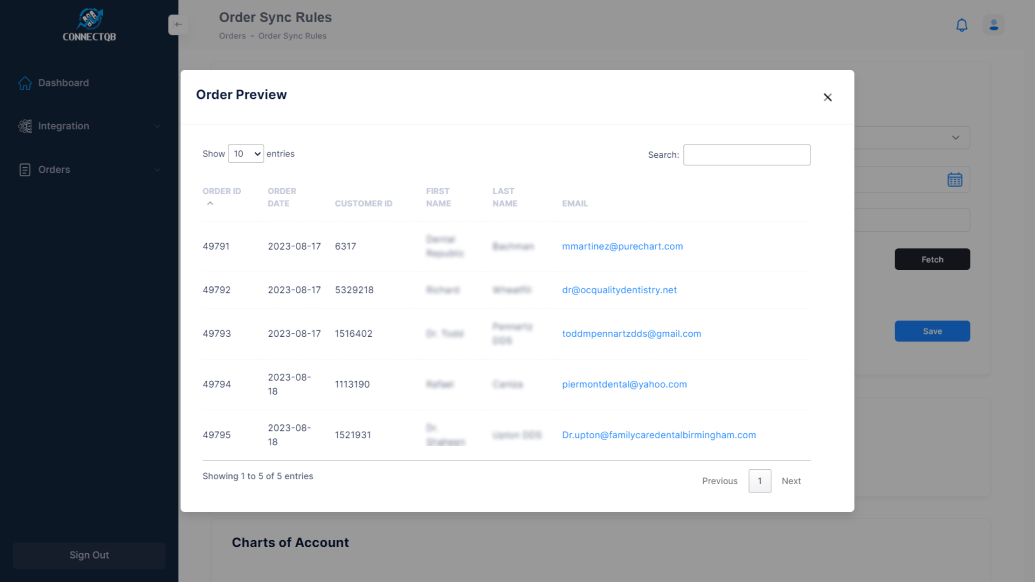
Click the “Fetch” button to preview the orders within the specified range.
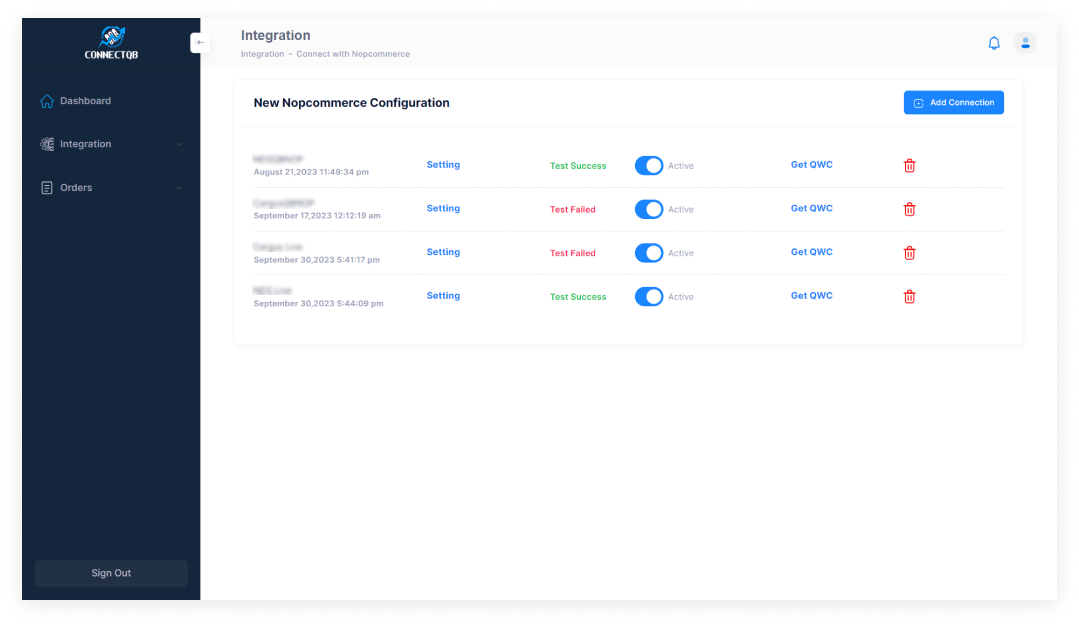
8. Download QWC File
Proceed to “Integration” > “Connect with nopCommerce.” Download the QuickBooks Web Connector (QWC) File for each connection.
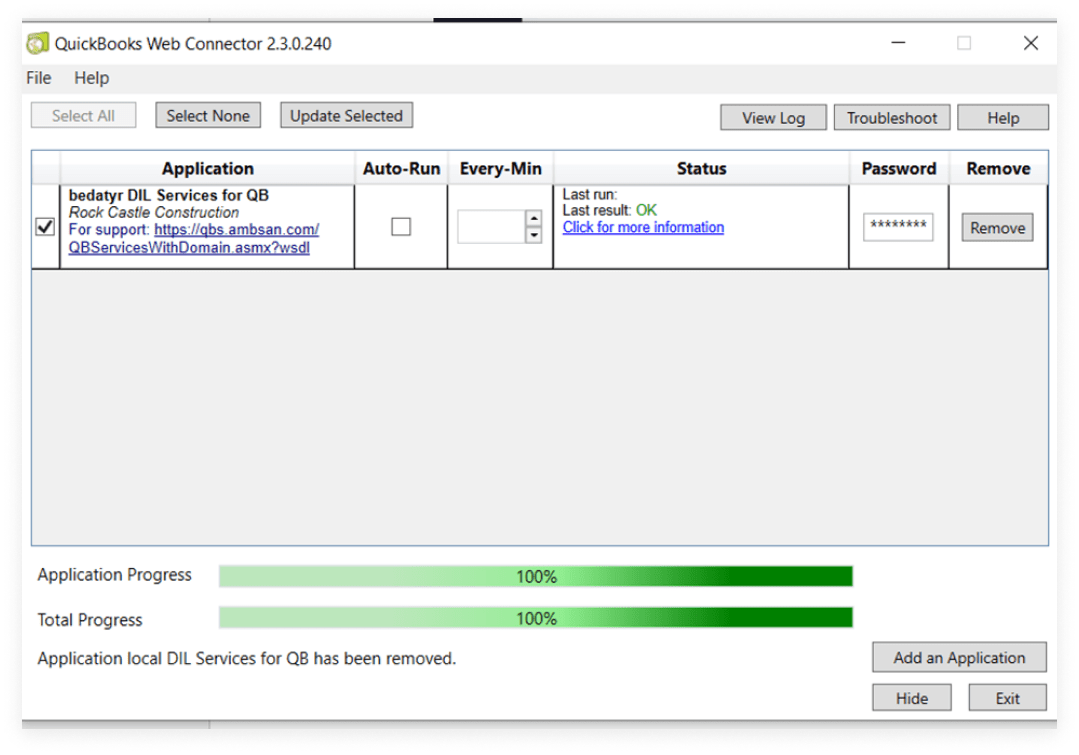
9. Set up QuickBooks Web Connector
On your desktop, open the QuickBooks Web Connector. Add the downloaded QWC File and set the password for the same user you used during sign up. Click “Update Selected.”